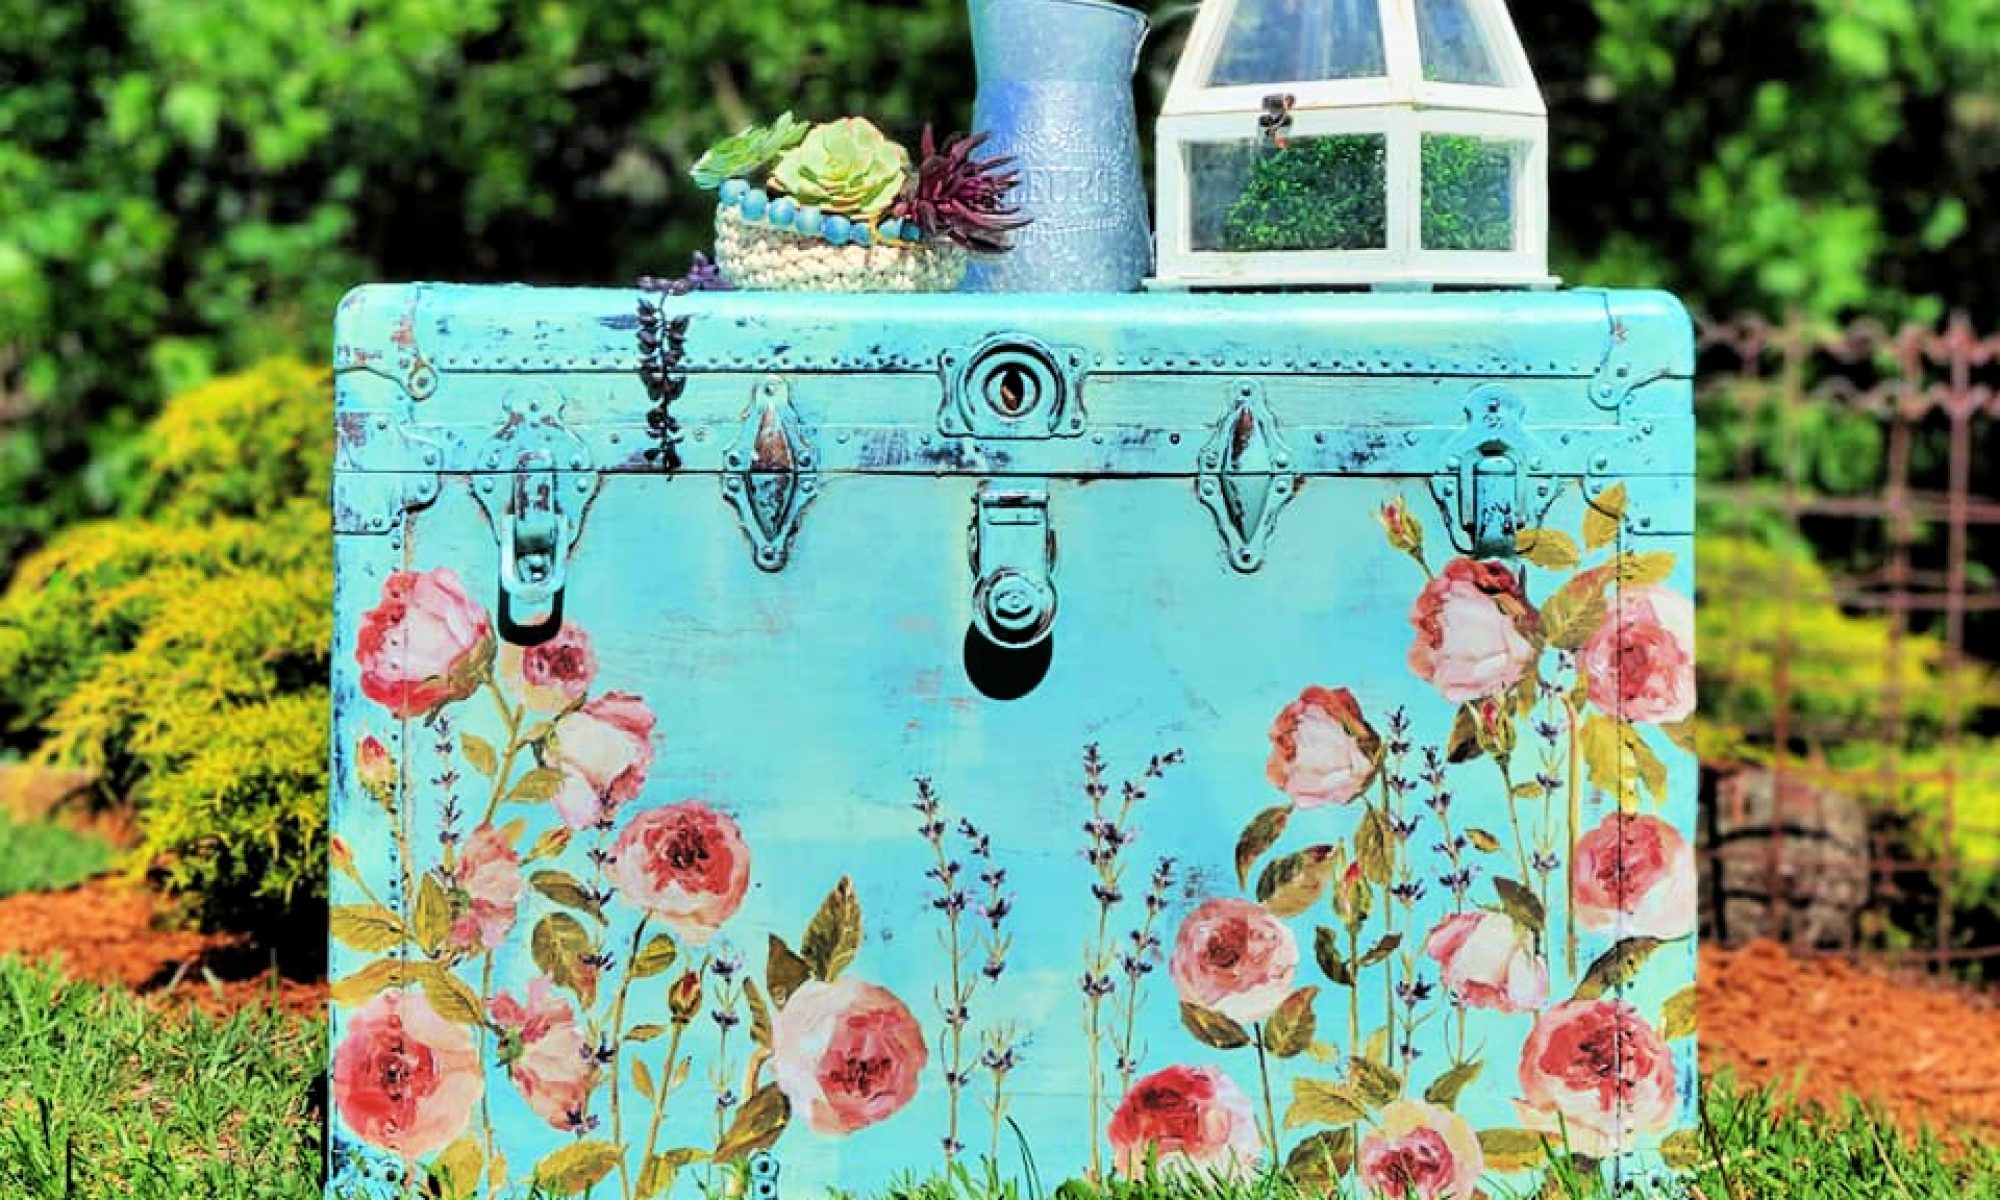
Indigo is hot right now for painted furniture!

My good friend Ann Schneider from The Front Porch in Waukesha, WI told me this color was hot hot hot in all the major home decor showrooms at market. I decided to do my take on Indigo. I don’t carry any blue that shade so I started with Wedgewood by American Paint Company. It’s a pretty shade of blue, especially when sealed with black wax.

My sofa table was as smooth as can be and I needed to build some texture so the wax would have something to grab onto. I applied the paint in a cross-hatch pattern everywhere except for the top. On the top, I used long brush strokes to replicate wood grain. I can tell in this picture that I used a combination of both Black and Dark Waxes.

I thought I had used more Black, but I did keep coming back with Dark. I like how the brown in the Dark Wax warmed up the overall finished color of the Wedgewood. Had I only used Dark Wax, the blue would have taken on more of a teal color. I wanted to maintain the blue so for blue paint, I prefer to go with black wax. I usually cut APC’s dark wax and black wax with some clear. I’m sure for this, I literally mixed the Clear in with some Black and did the same for the Dark wax. That creates a little more translucent wax so it doesn’t completely change the color. Just like their paints, APC’s colored waxes are very highly pigmented so keep that in mind. Black or Dark Wax applied directly over raw paint will change the color so it’s best to test it out on an old board prior to slapping it on your project.
I didn’t like how that turned out so I painted over it again. I had gently sanded the raw paint prior to waxing but I didn’t do it very evenly. In the areas where I sanded it too smooth, it wasn’t grabbing onto the colored wax enough and there were a few spots that were just too random. It bugged me so I removed most of the wax using DeNatured Alcohol and a Scotchguard pad and painted over it again.

After that was dry, I dumped more paint on it, literally, then used one of our clear coat applicator sponges to spread it out before I created texture with my big fluffy paint roller.

I sped up the drying time with our blow dryer which has taken up permanent residence in our garage workshop. Goes to show you how little time we spend on our hair – ha!
This is what Wedgewood looks like prior to applying the Black Wax
If I would have sealed it with Clear Wax instead of Black, it would be more the color that it is in the wet spots. Remember that when you’re working with our paints. Chalk and Clay paints look light when they dry. They take on the rich deep color once sealed. Sealing with Clear Wax or clear coats won’t change the color but it will change the value, richness and depth from how it looks in it’s raw paint phase.

I’m not sure if you can see it in the picture, but I intentionally created somewhat of a bumpy finish. That may seem counter intuitive but in order to really take accentuate the variations, I needed to create some dimension.
Can you see it now after the wax has been applied?

Doesn’t show the greatest in that picture but it really was pretty in real life. Hope you enjoyed this quick flip and will be inspired to give it a try.

I love how it turned out. The Black Wax was the perfect finish for the Wedgewood. I also feathered in some dark wax and some Pewter and Copper Metallic Mica Powders in detailed areas,. I unfortunately never had the chance to get very good pictures of it because it sold the day I went in to rearrange my booth. Hopefully you can get the gist of it from the few pictures I do have.
I’ll definitely do more pieces with this combo.

What’s your favorite accent color in your home decor?

Have a GREAT week!
Shelly


Love the table. Color is perfect and you always make your pieces one of a kind with your technique wishing you a peaceful week
Thanks Michelle! Peaceful sounds wonderful, I’ve been under so much stress.
Looks great Shelly! I just happen to have this exact color (I loved it too!) and am going to try this! Have a great week!
Sweet! In looking back through the pictures, I realized I used a bit more Brown Wax as well as the black. I’ve updated the post to explain.